
How to Plant a Birch Tree in Heavy Clay Soil

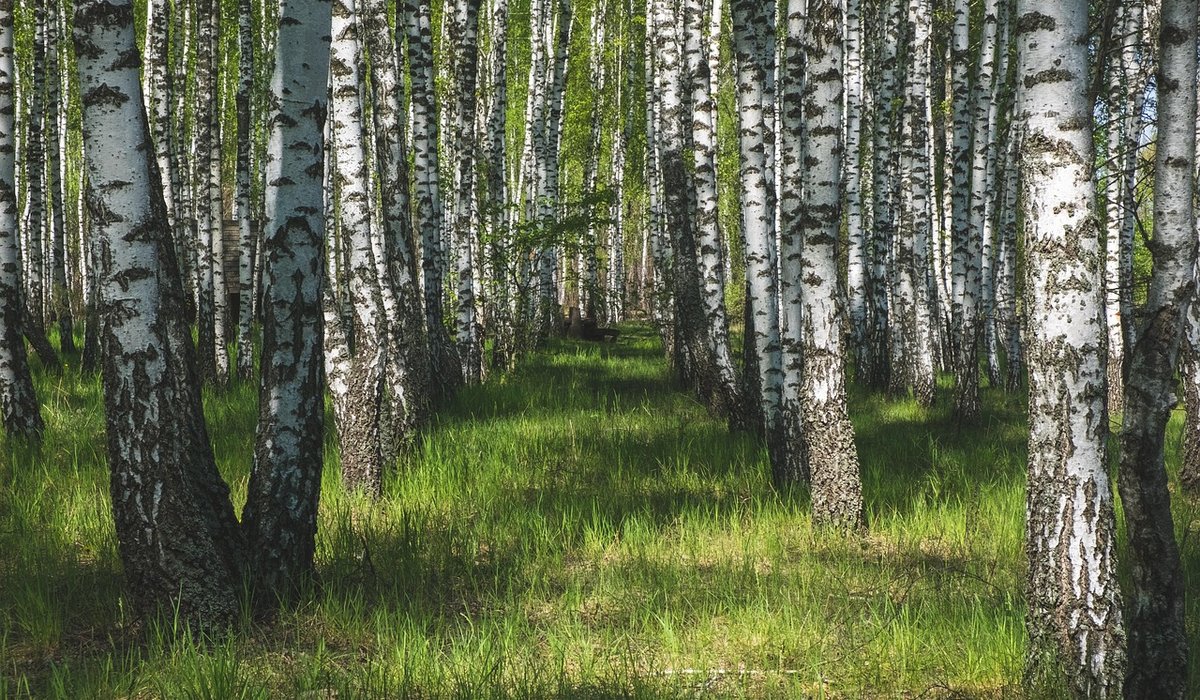
Birch trees, with their silvery bark and delicate leaves, are a beloved sight in British woodlands. But bringing one into a clay-heavy garden can feel daunting. Birch are naturally trees of light, well-drained soils, often colonising sandy heaths and woodland edges. Heavy clay, by contrast, is dense, slow to drain, and prone to waterlogging in winter and cracking in summer. Yet clay is also rich in nutrients, and with a little extra care at planting time, a birch can settle in and thrive. The key is to mimic the conditions its roots need while giving it a helping hand.
Why Heavy Clay Is a Challenge for Birch
Clay particles are tiny and tightly packed, leaving little space for air or water movement. Birch roots need oxygen to grow, and in a waterlogged clay soil they can suffocate and rot, especially during a wet British winter. In summer, the same clay can bake hard, shedding water rather than letting it soak down to the roots. But clay is not the enemy. It holds nutrients well, and once improved, it can support a healthy birch. The trick is to manage moisture and structure, not to replace the entire soil. Work with what you have, and the tree will gradually adapt.
Choosing the Right Birch and the Right Time
Not all birches are equal when it comes to clay. Downy birch (Betula pubescens) is more tolerant of wet, heavy soils than silver birch (Betula pendula). If your clay stays damp for much of the year, downy birch is the better choice. Silver birch can work if you improve drainage, but it will always prefer a lighter soil. Look for container-grown or root-balled trees, as bare-root plants can struggle if the clay is cold and claggy. The best time to plant is autumn, from October to November, when the soil is still warm and moist. This gives roots time to establish before spring. Early spring is a second-best option, but avoid planting in waterlogged or frozen ground.
Preparing the Planting Site
Before you dig, test how well your clay drains. Dig a hole 30cm deep, fill it with water, and see how long it takes to disappear. If it takes more than two hours, you need to intervene. Choose a spot in full sun or light shade. Then follow these steps:
- Dig a planting hole at least three times the width of the root ball, but no deeper than the root ball itself. Wide holes encourage lateral roots.
- Fork the base and sides of the hole to break up compaction. This is crucial on clay.
- If the clay is very heavy, add a 5cm layer of horticultural grit at the bottom of the hole.
- Mix the excavated clay with well-rotted compost and grit in roughly equal parts. This creates a transition zone that roots can move through.
- Consider planting on a slight mound. Raising the root flare above the surrounding soil helps water drain away from the trunk.
Planting Step by Step
Water the root ball thoroughly before planting. If it is container-grown, gently tease out any circling roots. Position the tree so the root flare – where the roots meet the trunk – sits level with the surrounding soil, or slightly higher if you are mounding. Backfill with your improved clay mix, firming gently in layers to remove air pockets. Do not compact too hard, as this destroys structure. Water well to settle the soil. Stake only if the site is exposed to strong winds; use a short stake and a flexible tie that allows the trunk to move. Finally, apply a mulch of well-rotted bark or leafmould, 5–8cm deep, keeping it 10cm away from the trunk.
Mulching and Watering – The First Two Years
Mulch is your best friend on clay. It prevents surface cracking, slows water loss, and encourages earthworms, which aerate the soil naturally. Top up the mulch each spring. Watering requires care: clay holds moisture, so do not overwater. Check the soil 10cm down – if it feels dry, water slowly and deeply, giving about 10 litres per week in dry spells. In winter, make sure the tree is not sitting in a puddle. If water pools around the trunk, fork the surface to break any crust, or create a shallow drainage channel. Avoid fertiliser in the first year; the compost in the backfill is enough. From the second year, a light dressing of balanced fertiliser in spring can help, but too much nitrogen encourages weak, sappy growth.
Long-Term Care and Patience
Birch are relatively low-maintenance once established. Prune only dead, damaged, or crossing branches in late summer or autumn to avoid bleeding sap. Watch for signs of stress: yellowing leaves, a sparse canopy, or dieback. These may indicate waterlogging or compaction. Keep grass and weeds away from the trunk; a mulched circle at least 1m in radius is ideal. Over time, the birch’s roots and the mulch will gradually break down the clay, improving its structure. But do not expect miracles in one season. A birch on clay may grow more slowly than one on sand, but it will reward you with that distinctive light canopy and peeling bark. Give it five years, and you will wonder why you ever doubted it.

Joeby Ragpa
This template is so awesome. I didn’t expect so many features inside. E-commerce pages are very useful, you can launch your online store in few seconds. I will rate 5 stars.
ReplyAlexander Samokhin
This template is so awesome. I didn’t expect so many features inside. E-commerce pages are very useful, you can launch your online store in few seconds. I will rate 5 stars.
ReplyChris Root
This template is so awesome. I didn’t expect so many features inside. E-commerce pages are very useful, you can launch your online store in few seconds. I will rate 5 stars.
Reply